Build an Apache Kafka Producer application using callbacks
use case:
You have an application using a Apache KafkaProducer, but you want to have an automatic way of handling the responses after producing records. In this tutorial you learn how to use the Callback interface to automatically handle responses from producing records.
Short Answer
Overload the KafkaProducer.send method with an instance of the Callback interface as the second parameter.
producer.send(producerRecord, (recordMetadata, exception) -> { if (exception == null) { System.out.println("Record written to offset " + recordMetadata.offset() + " timestamp " + recordMetadata.timestamp()); } else { System.err.println("An error occurred"); exception.printStackTrace(System.err); }});Steps:
To get started, make a new directory anywhere you’d like for this project:
mkdir kafka-producer-application-callback && cd kafka-producer-application-callbackNext, create the following docker-compose.yml file to obtain Confluent Platform:
---version: '2'services: zookeeper: image: confluentinc/cp-zookeeper:6.1.0 hostname: zookeeper container_name: zookeeper ports: - "2181:2181" environment: ZOOKEEPER_CLIENT_PORT: 2181 ZOOKEEPER_TICK_TIME: 2000 broker: image: confluentinc/cp-kafka:6.1.0 hostname: broker container_name: broker depends_on: - zookeeper ports: - "29092:29092" environment: KAFKA_BROKER_ID: 1 KAFKA_ZOOKEEPER_CONNECT: 'zookeeper:2181' KAFKA_LISTENER_SECURITY_PROTOCOL_MAP: PLAINTEXT:PLAINTEXT,PLAINTEXT_HOST:PLAINTEXT KAFKA_ADVERTISED_LISTENERS: PLAINTEXT://broker:9092,PLAINTEXT_HOST://localhost:29092 KAFKA_OFFSETS_TOPIC_REPLICATION_FACTOR: 1 KAFKA_GROUP_INITIAL_REBALANCE_DELAY_MS: 0 KAFKA_TOOLS_LOG4J_LOGLEVEL: ERROR schema-registry: image: confluentinc/cp-schema-registry:6.0.0 hostname: schema-registry container_name: schema-registry depends_on: - broker ports: - "8081:8081" environment: SCHEMA_REGISTRY_HOST_NAME: schema-registry SCHEMA_REGISTRY_KAFKASTORE_BOOTSTRAP_SERVERS: 'broker:9092' SCHEMA_REGISTRY_LOG4J_ROOT_LOGLEVEL: WARNAnd launch it by running:
docker-compose up -dIn this step we’re going to create a topic for use during this tutorial.
Open a new terminal window and then run this command to open a shell on the broker docker container
docker-compose exec broker bashNext, create the topic that the producer can write to
kafka-topics --create --topic output-topic --bootstrap-server broker:9092 --replication-factor 1 --partitions 1Keep this terminal window open for later use when you run a console consumer to verify your producer application.
Create the following Gradle build file for the project, named build.gradle:
buildscript { repositories { mavenCentral() } dependencies { classpath "com.commercehub.gradle.plugin:gradle-avro-plugin:0.22.0" classpath "com.github.jengelman.gradle.plugins:shadow:4.0.2" }}plugins { id "java" id "com.google.cloud.tools.jib" version "3.1.1" id "idea" id "eclipse"}sourceCompatibility = "1.8"targetCompatibility = "1.8"version = "0.0.1"repositories { mavenCentral() maven { url "https://packages.confluent.io/maven" }}apply plugin: "com.commercehub.gradle.plugin.avro"apply plugin: "com.github.johnrengelman.shadow"dependencies { implementation "org.apache.avro:avro:1.10.2" implementation "org.slf4j:slf4j-simple:1.7.30" implementation "org.apache.kafka:kafka-streams:2.7.0" implementation "io.confluent:kafka-streams-avro-serde:6.1.1" testImplementation "org.apache.kafka:kafka-streams-test-utils:2.7.0" testImplementation "junit:junit:4.13.2" testImplementation 'org.hamcrest:hamcrest:2.2'}test { testLogging { outputs.upToDateWhen { false } showStandardStreams = true exceptionFormat = "full" }}jar { manifest { attributes( "Class-Path": configurations.compileClasspath.collect { it.getName() }.join(" "), "Main-Class": "io.confluent.developer.KafkaProducerCallbackApplication" ) }}shadowJar { archiveBaseName = "kafka-producer-application-callback-standalone" archiveClassifier = ''}Run the following command to obtain the Gradle wrapper:
gradle wrapperNext, create a directory for configuration data:
mkdir configurationThen create a development file at configuration/dev.properties:
bootstrap.servers=localhost:29092key.serializer=org.apache.kafka.common.serialization.StringSerializervalue.serializer=org.apache.kafka.common.serialization.StringSerializeracks=all#Properties below this line are specific to code in this applicationoutput.topic.name=output-topicLet’s do a quick walkthrough of some of the producer properties.
key.serializer – The serializer the KafkaProducer will use to serialize the key.
value.serializer – The serializer the KafkaProducer will use to serialize the value.
acks – The KafkaProducer uses the acks configuration to tell the lead broker how many acknowledgment to wait for to consider a produce request complete. Acceptable values for acks are: 0, 1 (the default), -1, or all. Setting acks to -1 is the same as setting it to all.
acks=0: “fire and forget”, once the producer sends the record batch it is considered successfulacks=1: leader broker added the records to its local log but didn’t wait for any acknowledgment from the followersacks=all: highest data durability guarantee, the leader broker persisted the record to its log and received acknowledgment of replication from all in-sync replicas. When usingacks=all, it’s strongly recommended to update min.insync.replicas as well.
This is only a small sub-set of producer configuration parameters. The full list of producer configuration parameters can be found in the Apache Kafka documentation.
Create a directory for the Java files in this project:
mkdir -p src/main/java/io/confluent/developerBefore you create your application file, let’s look at some of the key points of this program:
public class KafkaProducerCallbackApplication { private final Producer<String, String> producer; final String outTopic; public KafkaProducerCallbackApplication(final Producer<String, String> producer, final String topic) { this.producer = producer; outTopic = topic; }Passing in the Producer instance as a constructor parameter. | |
| The topic to write records to |
In this tutorial you’ll inject the dependencies in the KafkaProducerCallbackApplication.main() method. Having this thin wrapper class around a Producer is not required, but it does help with making our code easier to test. We’ll go into more details in the testing section of the tutorial.
(In practice you may want to use a dependency injection framework library, such as the Spring Framework).
Next let’s take a look at the KafkaProducerCallbackApplication.produce method
public void produce(final String message) { final String[] parts = message.split("-"); final String key, value; if (parts.length > 1) { key = parts[0]; value = parts[1]; } else { key = "NO-KEY"; value = parts[0]; } final ProducerRecord<String, String> producerRecord = new ProducerRecord<>(outTopic, key, value); producer.send(producerRecord, (recordMetadata, exception) -> { if (exception == null) { System.out.println("Record written to offset " + recordMetadata.offset() + " timestamp " + recordMetadata.timestamp()); } else { System.err.println("An error occurred"); exception.printStackTrace(System.err); } }); }| Process the String for sending message | |
Create the ProducerRecord | |
Send the record to the broker specifying a Callback instance as a lambda function | |
| If there’s no exceptions print the offset and timestamp of the acknowledged record | |
Error handling portion-in this case printing the stacktrace to System.err |
The KafkaProducerCallbackApplication.produce method does some processing on a String, and then sends it as a ProducerRecord. While this code is a trivial example, it’s enough to show the example of using a KafkaProducer.
Notice that this overload of the KafkaProducer.send method accepts a second parameter, an instance of the Callback interface.
The Callback provides a way of handling any actions you want to take on request completion asynchronously. Note that the Callback code executes on the producer’s I/O thread and any time consuming tasks could cause a delay in sending new records, so any code here should be designed to execute quickly.
The KafkaProducer.send method is asynchronous and returns as soon as the provided record is placed in the buffer of records to be sent to the broker. Once the broker acknowledges that the record has been appended to its log, the broker completes the produce request, which the application receives as RecordMetadata—information about the committed message.
In this example, the code in the callback just prints information from each record’s RecordMetadata object, specifically the timestamp and offset.
Now go ahead and create the following file at src/main/java/io/confluent/developer/KafkaProducerCallbackApplication.java.
package io.dpq.developer;import org.apache.kafka.clients.producer.KafkaProducer;import org.apache.kafka.clients.producer.Producer;import org.apache.kafka.clients.producer.ProducerRecord;import java.io.FileInputStream;import java.io.IOException;import java.nio.file.Files;import java.nio.file.Paths;import java.util.List;import java.util.Properties;public class KafkaProducerCallbackApplication { private final Producer<String, String> producer; final String outTopic; public KafkaProducerCallbackApplication(final Producer<String, String> producer, final String topic) { this.producer = producer; outTopic = topic; } public void produce(final String message) { final String[] parts = message.split("-"); final String key, value; if (parts.length > 1) { key = parts[0]; value = parts[1]; } else { key = null; value = parts[0]; } final ProducerRecord<String, String> producerRecord = new ProducerRecord<>(outTopic, key, value); producer.send(producerRecord, (recordMetadata, exception) -> { if (exception == null) { System.out.println("Record written to offset " + recordMetadata.offset() + " timestamp " + recordMetadata.timestamp()); } else { System.err.println("An error occurred"); exception.printStackTrace(System.err); } }); } public void shutdown() { producer.close(); } public static Properties loadProperties(String fileName) throws IOException { final Properties envProps = new Properties(); final FileInputStream input = new FileInputStream(fileName); envProps.load(input); input.close(); return envProps; } public static void main(String[] args) throws Exception { if (args.length < 2) { throw new IllegalArgumentException( "This program takes two arguments: the path to an environment configuration file and" + "the path to the file with records to send"); } final Properties props = KafkaProducerCallbackApplication.loadProperties(args[0]); final String topic = props.getProperty("output.topic.name"); final Producer<String, String> producer = new KafkaProducer<>(props); final KafkaProducerCallbackApplication producerApp = new KafkaProducerCallbackApplication(producer, topic); String filePath = args[1]; try { List<String> linesToProduce = Files.readAllLines(Paths.get(filePath)); linesToProduce.stream() .filter(l -> !l.trim().isEmpty()) .forEach(producerApp::produce); } catch (IOException e) { System.err.printf("Error reading file %s due to %s %n", filePath, e); } finally { producerApp.shutdown(); } }}Create the following file input.txt in the base directory of the tutorial. The numbers before the - will be the key and the part after will be the value.
1-value2-words3-All Streams4-Lead to5-Kafka6-Go to7-Kafka Summit8-How can9-a 10 ounce10-bird carry a11-5lb coconutIn your terminal, run:
./gradlew shadowJarNow that you have an uberjar for the KafkaProducerCallbackApplication, you can launch it locally.
java -jar build/libs/kafka-producer-application-callback-standalone-0.0.1.jar configuration/dev.properties input.txtAfter you run the previous command, the application will process the file and you should something like this on the console:
Record written to offset 0 timestamp 1597352120029Record written to offset 1 timestamp 1597352120037Record written to offset 2 timestamp 1597352120037Record written to offset 3 timestamp 1597352120037Record written to offset 4 timestamp 1597352120037Record written to offset 5 timestamp 1597352120037Record written to offset 6 timestamp 1597352120037Record written to offset 7 timestamp 1597352120037Record written to offset 8 timestamp 1597352120037Record written to offset 9 timestamp 1597352120037Record written to offset 10 timestamp 1597352120038Now you can experiment some by creating your own file in base directory and re-run the above command and substitute your file name for input.txt
Remember any data before the - is the key and data after is the value.
Now run a console consumer that will read topics from the output topic to confirm your application published the expected records.
kafka-console-consumer --topic output-topic \ --bootstrap-server broker:9092 \ --from-beginning \ --property print.key=true \ --property key.separator=" : "The output from the consumer can vary if you added any of your own records, but it should look something like this:
1 : value2 : words3 : All Streams4 : Lead to5 : Kafka6 : Go to7 : Kafka Summit8 : How can9 : a 10 ounce10 : bird carry a11 : 5lb coconutNow close the consumer with a CTRL+C then the broker shell with a CTRL+D
Test it
First, create a test file at configuration/test.properties:
key.serializer=org.apache.kafka.common.serialization.StringSerializervalue.serializer=org.apache.kafka.common.serialization.StringSerializeracks=all#Properties below this line are specific to code in this applicationoutput.topic.name=output-topicCreate a directory for the tests to live in:
mkdir -p src/test/java/io/confluent/developerNext we will see why the thin wrapper class around the KafkaProducer makes testing easier. The KafkaProducerCallbackApplication accepts an instance of the Producer interface. The use of the interface allows us to inject any concrete type we want, including a Mock Producer for testing.
We use a MockProducer because you only want to test your own code. So you really only need to test that the producer receives the expected records and in the expected format. Plus since there is no broker, the tests run very fast, which becomes an important factor as the number of tests increase.
There is only one method in KafkaProducerCallbackApplicationTest annotated with @Test, and that is testProduce(). Before you create the test, let’s go over a few of the key points of the test
final List<String> records = Arrays.asList("foo#bar", "bar#foo", "baz#bar", "great-weather");records.forEach(producerApp::produce); final List<KeyValue<String, String>> expectedList = Arrays.asList(KeyValue.pair("foo", "bar"), KeyValue.pair("bar", "foo"), KeyValue.pair("baz", "bar"), KeyValue.pair("NO-KEY","great:weather")); final List<KeyValue<String, String>> actualList = mockProducer.history().stream().map(this::toKeyValue).collect(Collectors.toList()); Call the produce method | |
| Build the expected list of records the producer should receive | |
Use the MockProducer.history() method to get the records sent to the producer so the test can assert the expected records match the actual ones sent |
Now create the following file at src/test/java/io/confluent/developer/KafkaProducerCallbackApplicationTest.java.
package io.dpq.developer;import static org.hamcrest.CoreMatchers.equalTo;import static org.hamcrest.MatcherAssert.assertThat;import java.io.IOException;import java.util.Arrays;import java.util.List;import java.util.Properties;import java.util.stream.Collectors;import org.apache.kafka.clients.producer.MockProducer;import org.apache.kafka.common.serialization.StringSerializer;import org.apache.kafka.clients.producer.ProducerRecord;import org.apache.kafka.streams.KeyValue;import org.junit.Test;public class KafkaProducerCallbackApplicationTest { private final static String TEST_CONFIG_FILE = "configuration/test.properties"; @Test public void testProduce() throws IOException { final StringSerializer stringSerializer = new StringSerializer(); final MockProducer<String, String> mockProducer = new MockProducer<>(true, stringSerializer, stringSerializer); final Properties props = KafkaProducerCallbackApplication.loadProperties(TEST_CONFIG_FILE); final String topic = props.getProperty("output.topic.name"); final KafkaProducerCallbackApplication producerApp = new KafkaProducerCallbackApplication(mockProducer, topic); final List<String> records = Arrays.asList("foo-bar", "bar-foo", "baz-bar", "great:weather"); records.forEach(producerApp::produce); final List<KeyValue<String, String>> expectedList = Arrays.asList(KeyValue.pair("foo", "bar"), KeyValue.pair("bar", "foo"), KeyValue.pair("baz", "bar"), KeyValue.pair(null,"great:weather")); final List<KeyValue<String, String>> actualList = mockProducer.history().stream().map(this::toKeyValue).collect(Collectors.toList()); assertThat(actualList, equalTo(expectedList)); producerApp.shutdown(); } private KeyValue<String, String> toKeyValue(final ProducerRecord<String, String> producerRecord) { return KeyValue.pair(producerRecord.key(), producerRecord.value()); }}Now run the test, which is as simple as:
./gradlew testTake it to production
First, create a new configuration file at configuration/prod.properties with the following content. Be sure to fill in the addresses of your production hosts and change any other parameters that make sense for your setup.
bootstrap.servers=<FILL ME IN>key.serializer=org.apache.kafka.common.serialization.StringSerializervalue.serializer=org.apache.kafka.common.serialization.StringSerializeracks=all#Properties below this line are specific to code in this applicationoutput.topic.name=<FILL ME IN>In your terminal, execute the following to invoke the Jib plugin to build an image:
gradle jibDockerBuild --image=io.confluent.developer/kafka-producer-application-callback-join:0.0.1Finally, launch the container using your preferred container orchestration service. If you want to run it locally, you can execute the following:
docker run -v $PWD/configuration/prod.properties:/config.properties io.confluent.developer/kafka-producer-application-callback-join:0.0.1 config.propertiesDeploy on Confluent Cloud
Instead of running a local Kafka cluster, you may use Confluent Cloud, a fully-managed Apache Kafka service.
- Sign up for Confluent Cloud, a fully-managed Apache Kafka service.
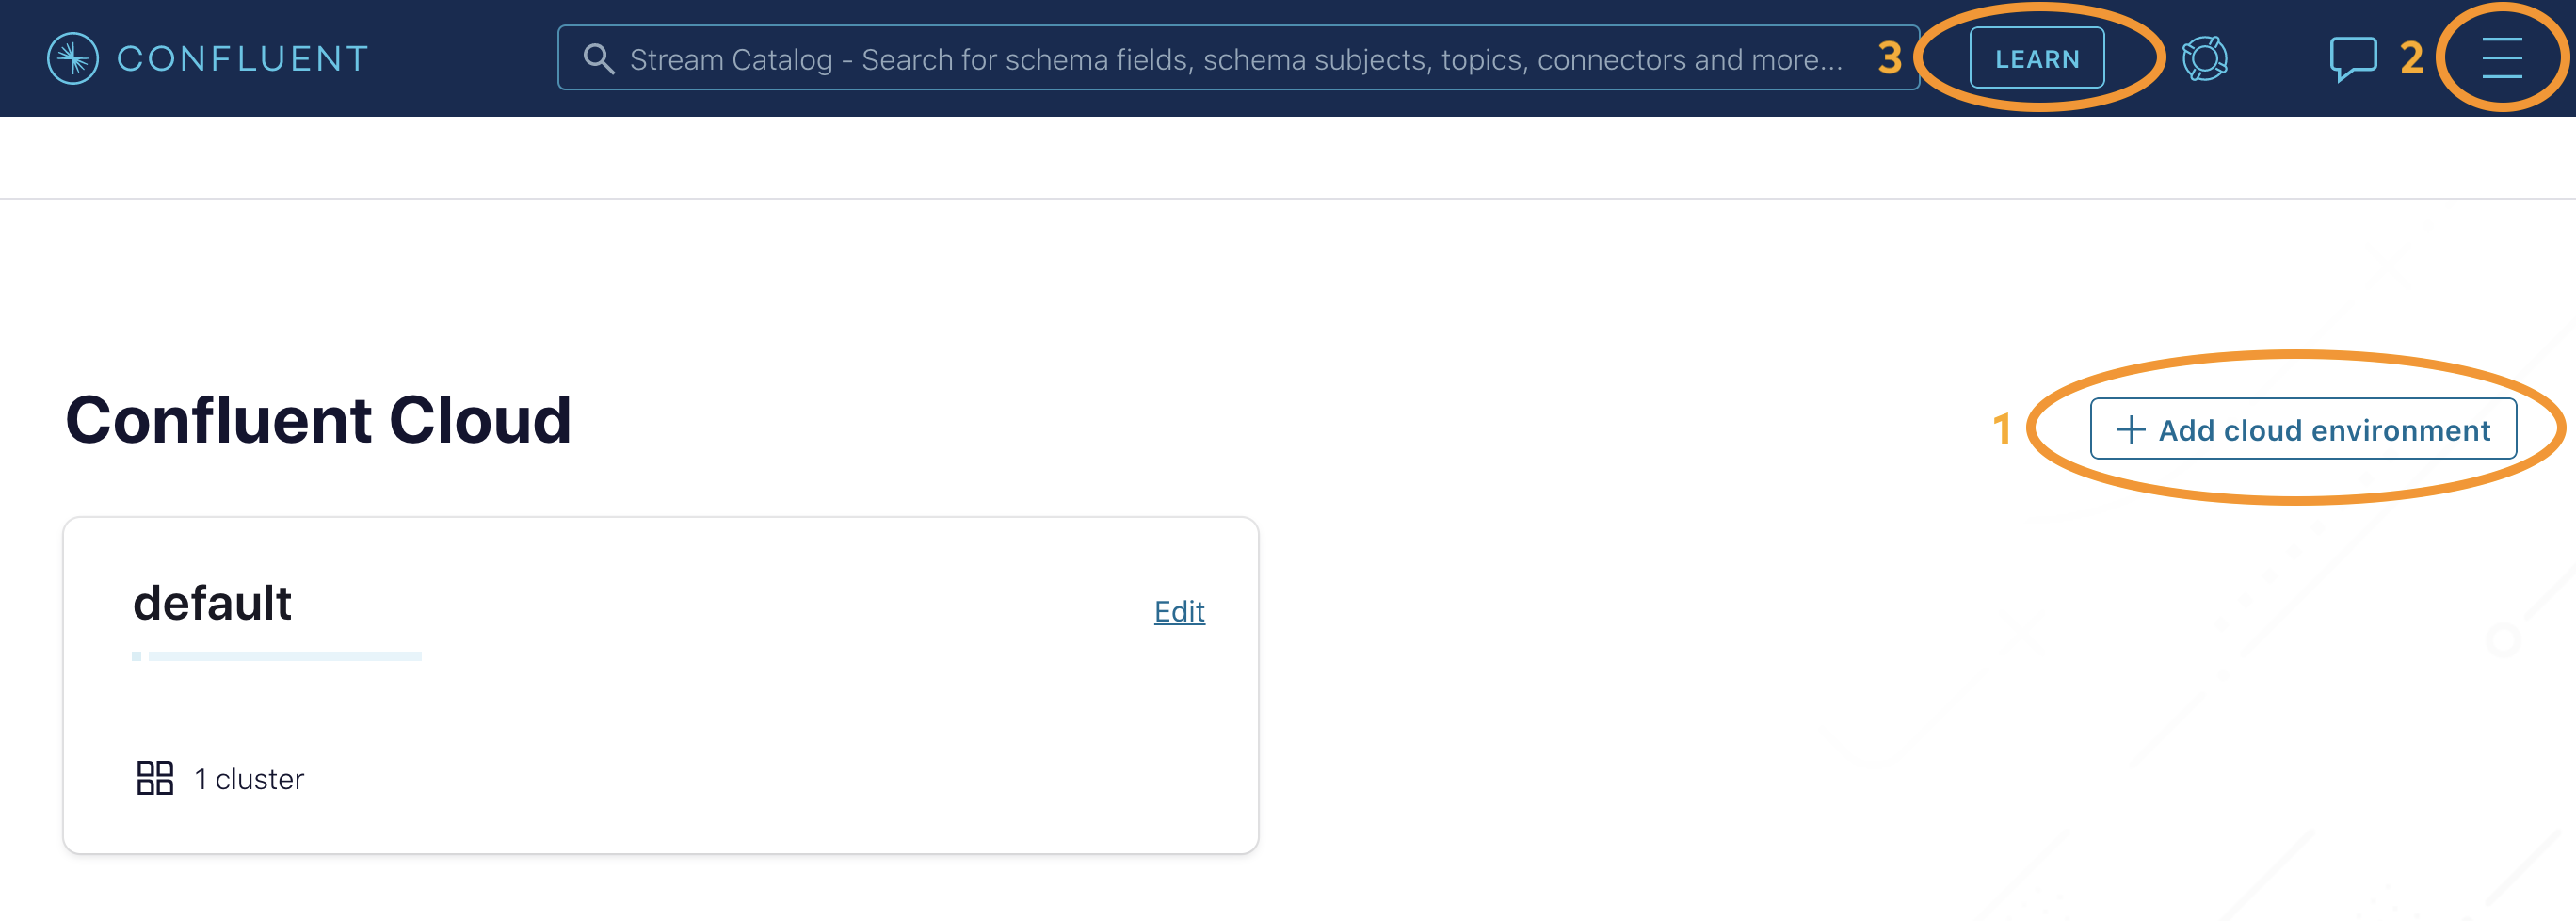
- After you log in to Confluent Cloud, click on
Add cloud environmentand name the environmentlearn-kafka. Using a new environment keeps your learning resources separate from your other Confluent Cloud resources.
Next, from the Confluent Cloud UI, click on Clients to get the cluster-specific configurations, e.g. Kafka cluster bootstrap servers and credentials, Confluent Cloud Schema Registry and credentials, etc., and set the appropriate parameters in your client application. In the case of this tutorial, add the following properties to the client application’s input properties file, substituting all curly braces with your Confluent Cloud values.
# Required connection configs for Kafka producer, consumer, and adminbootstrap.servers={{ BROKER_ENDPOINT }}security.protocol=SASL_SSLsasl.jaas.config=org.apache.kafka.common.security.plain.PlainLoginModule required username='{{ CLUSTER_API_KEY }}' password='{{ CLUSTER_API_SECRET }}';sasl.mechanism=PLAIN# Required for correctness in Apache Kafka clients prior to 2.6client.dns.lookup=use_all_dns_ips# Best practice for Kafka producer to prevent data lossacks=all# Required connection configs for Confluent Cloud Schema Registryschema.registry.url=https://{{ SR_ENDPOINT }}basic.auth.credentials.source=USER_INFOschema.registry.basic.auth.user.info={{ SR_API_KEY }}:{{ SR_API_SECRET }}Now you’re all set to run your streaming application locally, backed by a Kafka cluster fully managed by Confluent Cloud.

